What actually changes when you convert PNG to WebP
PNG stores an image losslessly: what you save is what you get back, pixel for pixel. That is why it became the default for screenshots, logos, interface assets, and any image where hard edges or transparency matter.
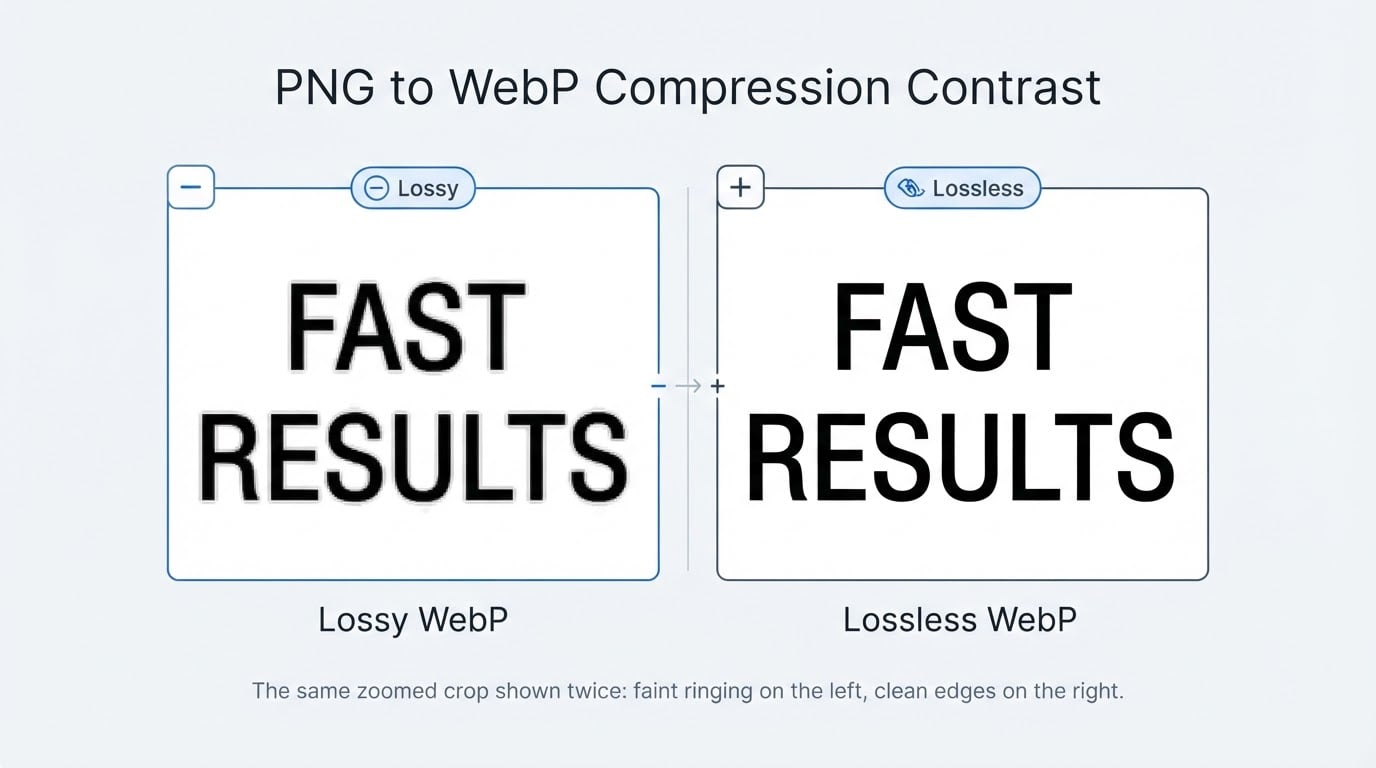
WebP offers two modes. Lossless WebP also rebuilds the exact pixels, but packs them with a newer compression scheme. Lossy WebP discards detail a viewer is unlikely to notice, and the file can shrink dramatically. Both modes carry an alpha channel, so transparent backgrounds survive the conversion.
Delivery is where WebP pays off. Current versions of Chrome, Firefox, Edge, and Safari render WebP on desktop and mobile, so most sites can serve a single format instead of juggling PNG and a fallback. How much you save depends on the image: a photo that was saved as PNG often shrinks the most, while an already-optimized graphic may barely change.
Lossy or lossless: choose a mode for your PNGs
The right mode depends on what is inside the file, not on the extension.
Content | Start with | Check after conversion |
|---|---|---|
Screenshots, UI, icons, diagrams | Lossless WebP | Text and edges at 100% zoom |
Photos saved as PNG | Lossy WebP | Gradients, skin tones, fine texture |
Logos and cut-outs with transparency | Lossless WebP | Semi-transparent soft edges |
Large flat-color graphics | Lossless WebP | Whether the file shrank at all |
Three rules simplify the decision:
- Hard edges and small text are the first things lossy compression damages. Ringing appears around them long before the rest of the image looks different.
- Smooth gradients are the second. Lossy compression can turn a clean fade into visible steps, especially in skies and shadows.
- Semi-transparent pixels are the hardest part of a transparent image to protect, and lossy mode is where they degrade first.
If size matters more than pixel-perfect fidelity — a photographic backdrop, a hero image with no text — lossy WebP at a moderate quality is usually the right trade. If the asset is an interface element or a logo, lossless is the safer default, and the savings over PNG often remain worthwhile.
A practical PNG-to-WebP workflow
A conversion that looks fine in a preview can still fail in production. Work in five steps.
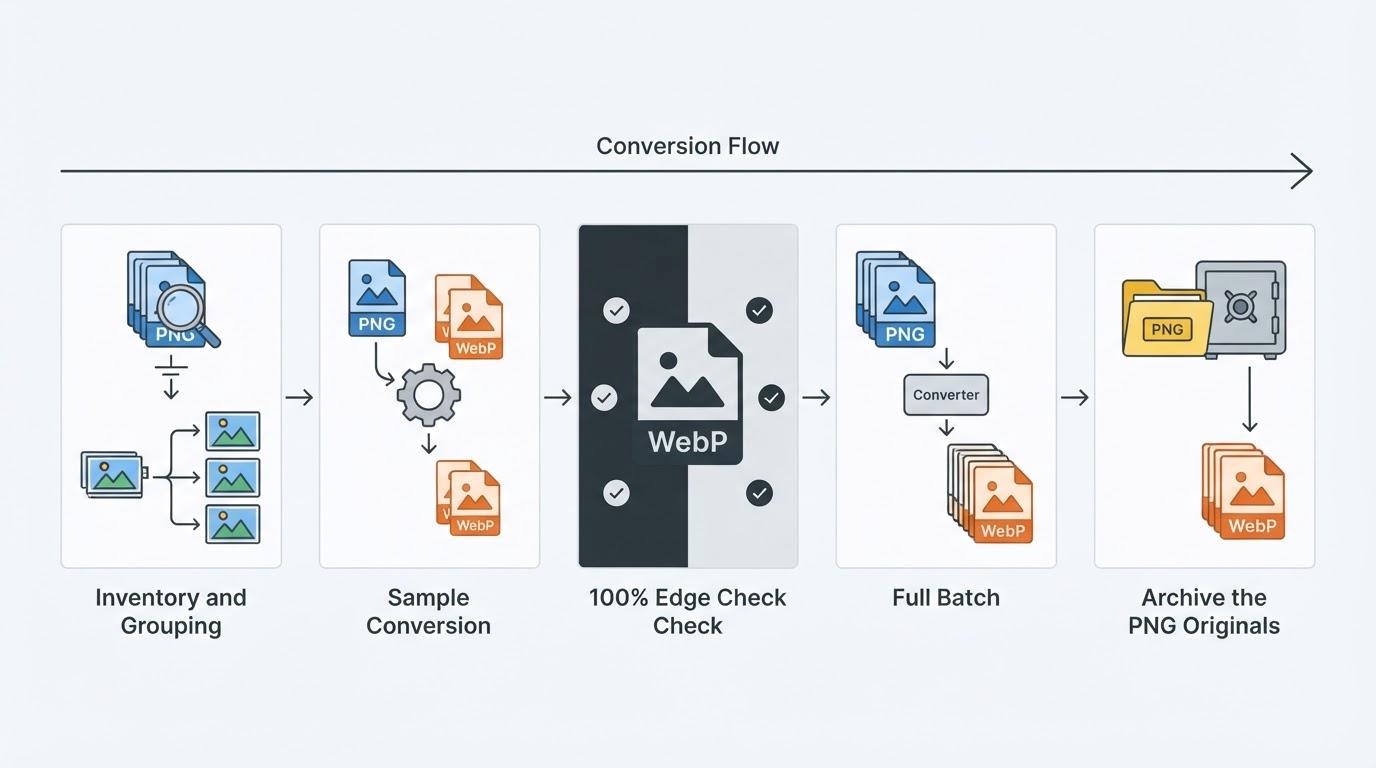
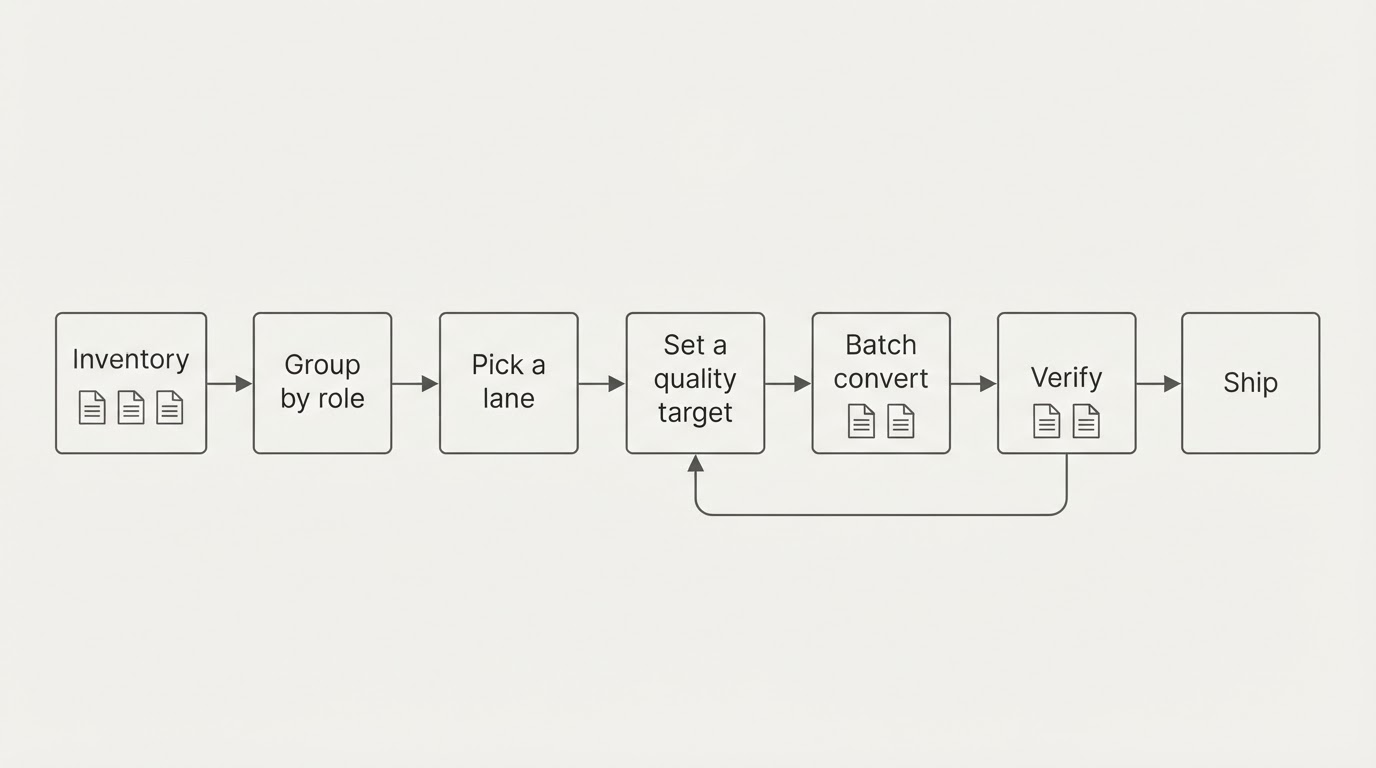
- Inventory the files. Group them by kind: photos, screenshots, icons, logos with transparency. Note which ones carry a color profile or metadata worth keeping, and where each file is used.
- Convert a representative sample first. Pick one or two files from each group, convert them, and compare size and appearance before touching the rest.
- Judge the result at 100% zoom on both a dark and a light background. Edge ringing and transparency artifacts are invisible in a thumbnail.
- Run the batch, and keep the PNG originals. Lossy conversion is not reversible, and a later design change may need the source file.
- Verify in the real delivery context. Open the page or app that uses the image and confirm the file loads, the alpha is intact, and any fallback path still works.
The workflow is complete when every converted asset looks right at full size where it is actually used, the original PNGs are archived, and each page that references an image has a working path for both formats. The expected output is a set of WebP files, a note of which are lossy and which are lossless, and untouched sources.
Transparency: what to verify before you ship
WebP's alpha channel is what makes PNG-to-WebP conversion viable for interface assets. The format keeps transparency in both modes, and browsers composite it the same way they composite a transparent PNG.
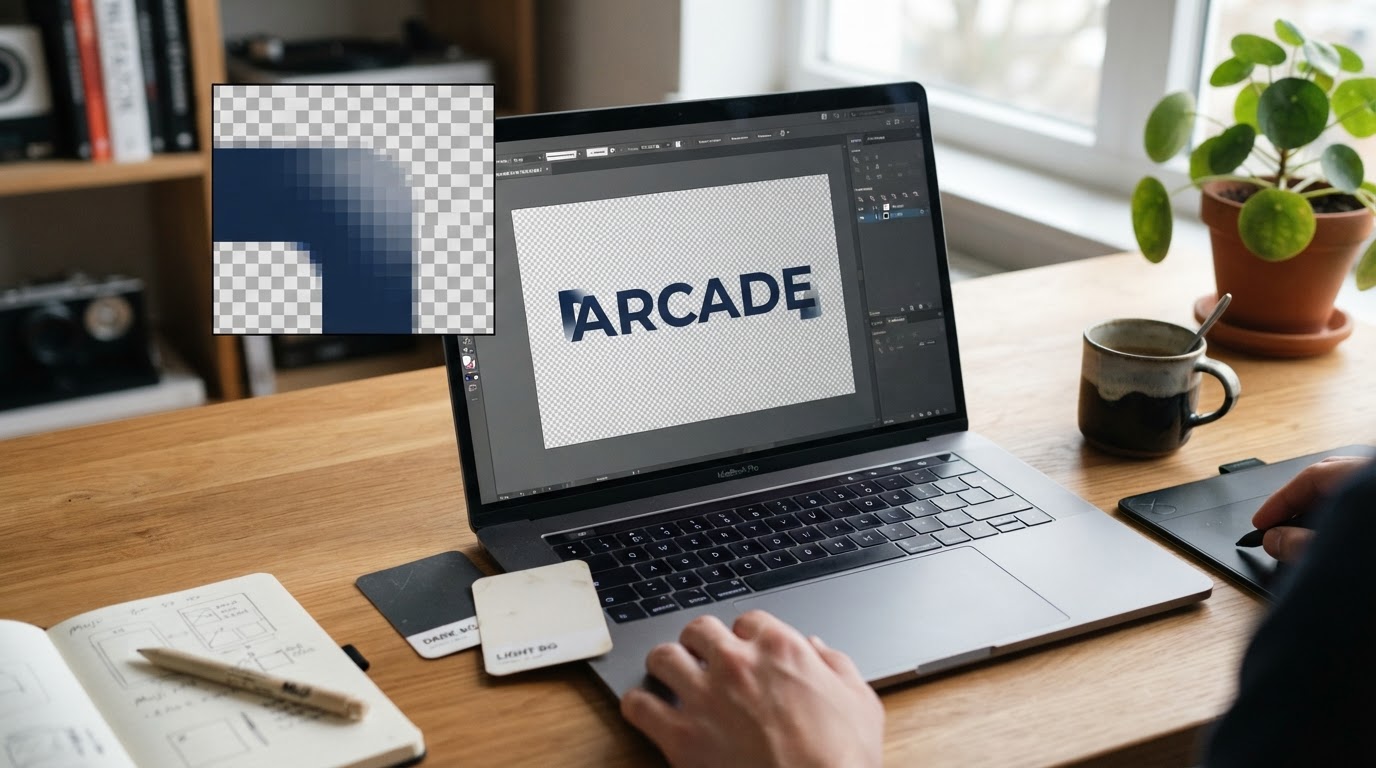
The failure cases live in the edges:
- Soft shadows, glows, and anti-aliased borders are semi-transparent, not fully opaque. Lossy compression can leave a faint halo around them; a dark and a light background will expose it.
- Never flatten an image onto white before converting. Once the background is baked in, no later step can restore the alpha.
- Watch how the converter fills fully transparent pixels. A tool that writes black or white there can produce fringing when the image is composited over a colored surface.
Metadata and EXIF: decide what to keep
PNG files rarely carry camera EXIF data — that is mostly a JPEG and RAW concern. What they do carry is an ICC color profile, sometimes a text description, and occasionally a copyright field. WebP can store EXIF, XMP, and ICC profiles inside the file, but whether they survive depends on the converter.
Two checks are worth building into the workflow:
- If color accuracy matters, confirm the ICC profile made it into the WebP output and compare the converted image against the original before publishing.
- If the source is a photo with location data, decide deliberately whether the GPS coordinates should travel with the web version. Stripping them reduces file size slightly and removes a privacy leak; keeping them preserves provenance.
A lossless conversion can still look different if the color profile was dropped, so verify rather than assume.
Batch conversion on macOS
A folder of PNGs usually has one of three paths: a command-line encoder, a batch export from an image editor, or a dedicated converter app.
Image2WebP, a Mac app from HP60 Studio, is built around this job. It batch-converts JPEG, PNG, HEIC, BMP, TIFF, HEIF, PSD, and RAW files to WebP and AVIF, and converts WebP or AVIF back to JPG or PNG. Everything runs on the Mac: files never leave the device, and no data is collected. The free version converts up to 10 files; a $1.99 lifetime Pro unlock removes that cap and preserves EXIF and GPS metadata during conversion.
That covers two common cases: a developer compressing a folder of site assets in one pass, and a photographer turning RAW captures into web-friendly files with the EXIF intact.
Common mistakes and limitations
- Treating WebP as a universal replacement. Some desktop tools, email clients, and older systems still expect PNG. Keep a fallback path, or keep the PNG.
- Judging quality from a thumbnail. Compression artifacts live at the pixel level and disappear at small sizes.
- Converting without archiving the source. Lossy WebP cannot be turned back into the original PNG, and every later edit starts from a degraded copy.
- Expecting a fixed size win. Two PNGs with similar dimensions can behave very differently: one may drop by half and another barely move, depending on content and how the PNG was saved. The only reliable answer comes from converting a sample.
- Ignoring metadata until QA. Color shifts and stripped copyright fields are easier to catch before a batch than after.
Follow-up questions
Does PNG to WebP conversion lose transparency?
No. WebP carries an alpha channel in both lossy and lossless modes, so transparent pixels survive. Soft, semi-transparent edges are where quality can slip, so check those at 100% on dark and light backgrounds.
Is WebP always smaller than PNG?
No. Lossy WebP is usually much smaller, and lossless WebP is often smaller than PNG for the same image, but the gap depends on the content. Convert a sample before committing to a batch.
Can I convert WebP back to PNG?
Yes, and many tools do it in one step. The round trip restores a universally accepted format, but it does not restore detail that a lossy conversion discarded — another reason to keep the original PNG.
Should I use AVIF instead of WebP?
AVIF generally produces smaller files than WebP for photographic content at similar quality, but encoding is slower and support across tools and browsers is narrower. WebP remains the safer default for a mixed asset set; test AVIF on the specific images and delivery targets you control.
What quality setting should I use?
Start with a quality level that meets your file-size target, then step down in small increments until you can see a difference at 100% zoom, and back off one step. There is no single correct number, because the right point depends on the image and where it will be displayed.
Will my EXIF data survive?
It depends on the converter. Some preserve EXIF, XMP, and ICC profiles; others strip everything. Check the output file's metadata after the first conversion, not after the whole batch.